

Introduction
A hunting shooting tripod stick built with aluminum tubing is more than a carry accessory; it is a field support system that affects stability, speed, and confidence when a shot matters. Its material choice, leg design, and locking mechanism all influence how well it handles uneven ground, wind, heavy rifles, and repeated use in rough terrain. This article explains what an aluminum tube tripod stick is, why hunters often choose aluminum over other materials, and which design details make the biggest difference in real-world performance. From durability and weight to setup efficiency and shooting support, the following sections will help you evaluate what works best for your hunting conditions.
Why Aluminum Tube Hunting Shooting Tripod Stick Design Matters
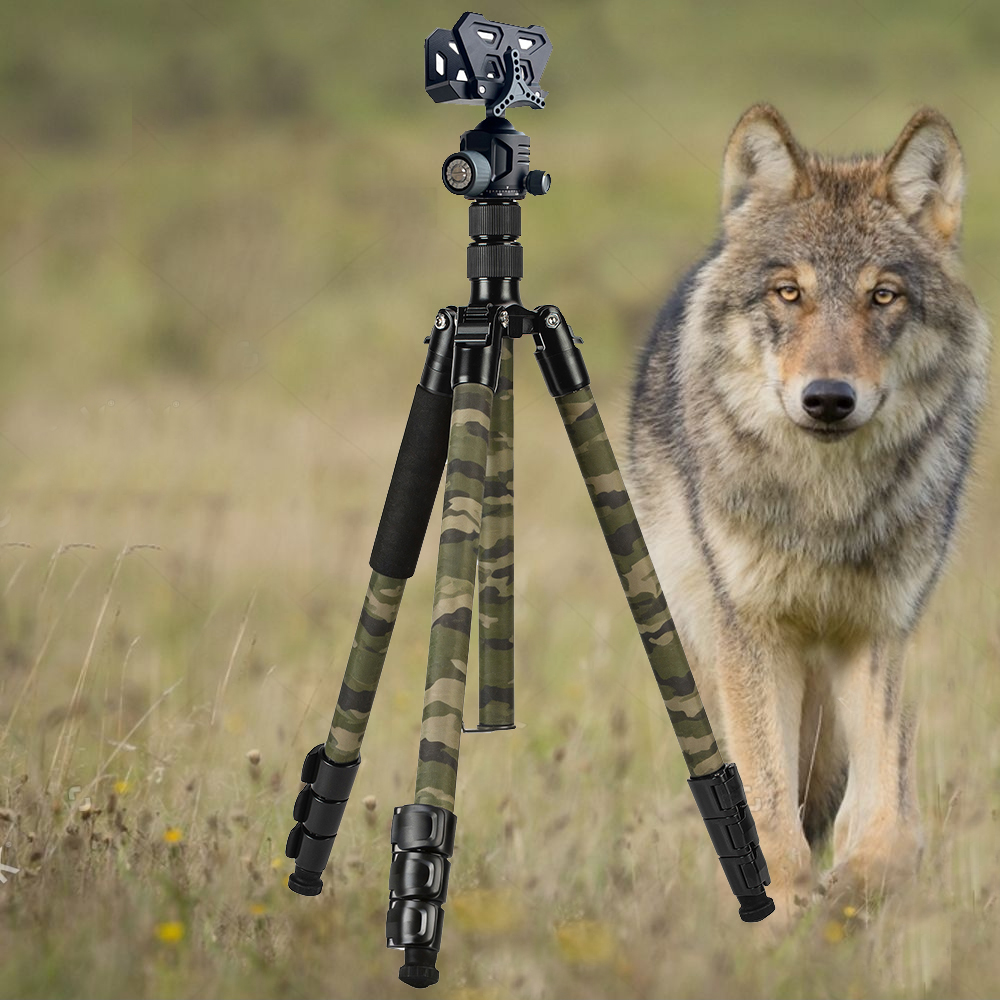
I’ve spent countless hours freezing on high-alpine ridgelines and sweating through dense backcountry brush, and if there is one absolute truth I’ve learned, it’s that your shooting platform dictates your success. The design of an Aluminum Tube Hunting Shooting Tripod Stick matters immensely in the field. For years, hunters and precision shooters relied on traditional bipods or improvised rests. However, as engagement distances have stretched and the precision rifle series (PRS) influence has bled into modern hunting, tripods have become non-negotiable gear.
I specifically champion aluminum over carbon fiber in many scenarios due to predictability, cost-to-durability ratios, and how the material behaves under catastrophic stress. Carbon fiber shatters when crushed by an ATV or dropped on jagged shale; aluminum simply dents or bends, often allowing you to finish the hunt. When evaluating these tools, we aren’t just looking at a camera stand painted camo. We are looking at a critical support system for a 15-pound rifle that needs to hold dead still in a 20 mph crosswind.
Define the product and its core use cases
The modern Hunting Shooting Tripod is a specialized support system engineered to handle high-recoil, heavy-payload applications. Unlike photography tripods that balance static, lightweight cameras, a shooting stick must manage dynamic energy. Core use cases span from glassing with heavy 15×56 binoculars to locking in a precision rifle for a 600-yard shot across a canyon.
In the field, these tripods serve three primary tasks: prolonged observation, standing or kneeling shots over tall brush, and rear-support stabilization in complex positional shooting. A proper setup must confidently support a static load of at least 35 to 50 pounds, ensuring that when you lean into the rifle to load the legs, the system doesn’t flex or collapse. This dynamic load requirement makes the structural integrity of the aluminum tubes the beating heart of the product.
Key design factors that affect field performance
Field performance is ultimately dictated by a few critical design factors, starting with the stiffness-to-weight ratio. When dialing in a shot, the apex (the central joint where the legs meet) must be rock solid. If the apex is made of cheap, thin cast aluminum or plastic, the entire system will suffer from micro-vibrations, translating your heartbeat straight into your reticle.
Another massive factor is leg angle adjustability. Because the ground is rarely flat, a high-performance aluminum tripod needs independent leg articulation, typically with locking stops at roughly 20, 45, and 85 degrees. The 85-degree splay is crucial because it allows the tripod to drop down to a prone height of around 6 to 9 inches off the dirt. Furthermore, leg deployment speed matters. If it takes more than 10 seconds to deploy and level the tripod, the opportunity may be lost. The friction coefficients of the leg locks and the smoothness of the aluminum draw are make-or-break design elements.
Key Specifications to Compare
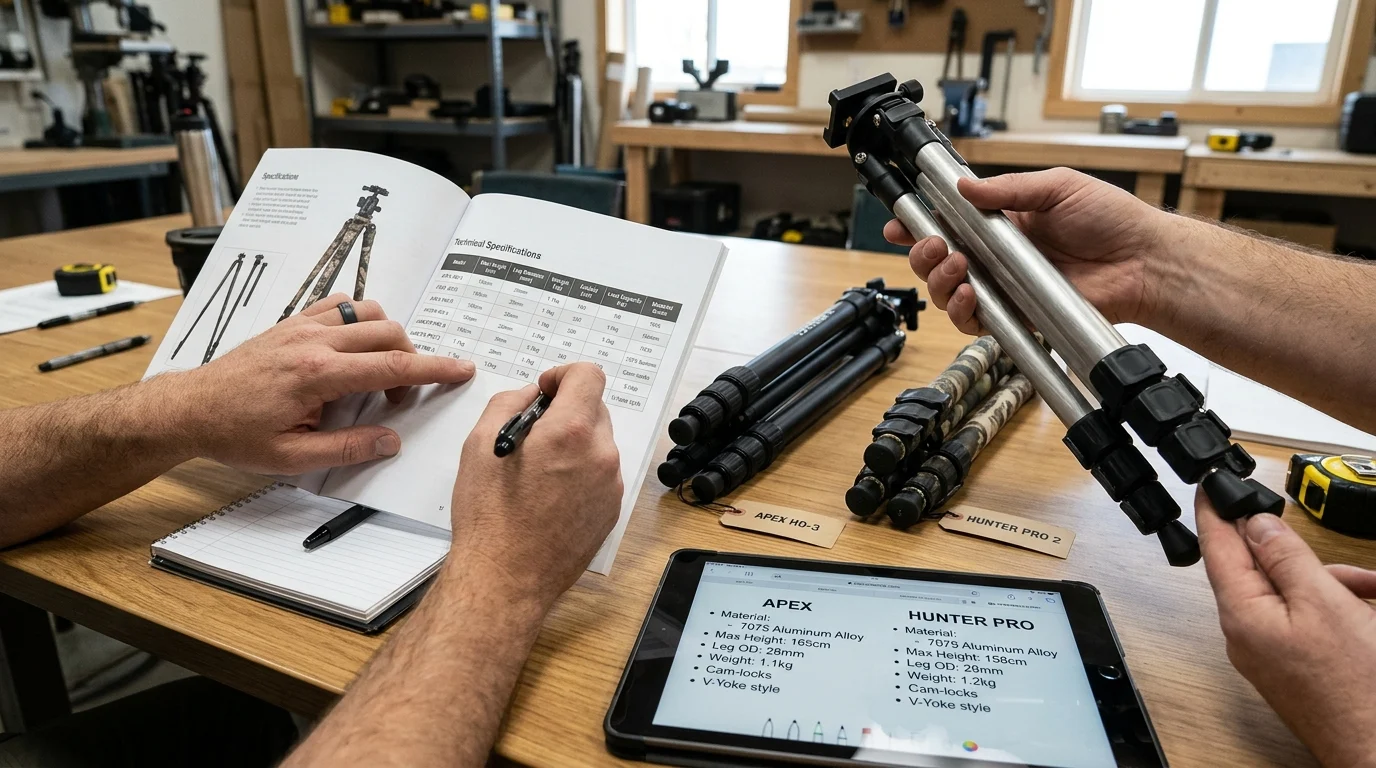
To separate a professional-grade Shooting Tripod from a cheap knockoff, you have to look under the hood. Beyond the marketing copy, evaluating the mechanical specifications, the alloys used, and the machining tolerances is where the real value of the product is established.
Understanding these specifications is vital whether you are a buyer outfitting a precision rifle team, a retailer stocking shelves, or a direct-to-consumer brand designing a flagship product. Here are the exact numbers and materials you should demand from manufacturers.
Tube grade, wall thickness, and leg lock options
The most critical specification is the aluminum grade. Most entry-level to mid-tier tripods use 6061-T6 aluminum. It is highly corrosion-resistant, easy to extrude, and relatively affordable, offering a yield strength of about 276 MPa. However, for high-end tactical and hunting applications where weight savings and extreme rigidity are paramount, 7075-T6 aluminum is the superior choice. With a yield strength pushing 503 MPa, 7075-T6 allows manufacturers to use thinner tube walls without sacrificing strength.
Wall thickness is another spec you must verify. A standard aluminum tripod tube should have a wall thickness of at least 1.2mm. Anything under 1.0mm will flex under the weight of a heavy rifle and dent easily if banged against a rock. Beefier models might push 1.5mm on the top leg sections. Next, consider the leg locks. The two primary choices are flip-lever locks and twist locks. Twist locks that require only a 1/4 or 1/2 turn to disengage are generally preferred. They present a lower snag hazard in the brush compared to flip levers, and they utilize compression collets that provide incredibly uniform clamping force around the aluminum tube.
How to use a specification comparison table
When comparing OEM quotes or evaluating tripods in a retail setting, a specification matrix is the best way to cut through the noise. Building a comparison table that looks at material strength, dimensional specs, and cost indices allows you to see exactly what you are paying for.
| Specification / Feature | 6061-T6 Aluminum Models | 7075-T6 Aluminum Models |
|---|---|---|
| Typical Yield Strength | ~276 MPa | ~503 MPa |
| Optimal Wall Thickness | 1.2mm – 1.5mm | 1.0mm – 1.2mm |
| Max Load Capacity (avg) | 25 – 35 lbs | 45 – 60+ lbs |
| Corrosion Resistance | Excellent (Native) | Good (Requires Anodizing) |
| Relative Cost Index | Baseline (1.0x) | Premium (1.4x – 1.8x) |
Use a table like this to match the product to the end-user. For a casual whitetail hunter walking 200 yards to a blind, a 6061-T6 model at 1.2mm thickness is more than enough. However, for a backcountry sheep hunter or a PRS competitor running an 18-pound rifle, the jump to 7075-T6 is an investment that pays immediate dividends in stability and weight savings.
How to Evaluate Quality and Compliance
Quality control is where theoretical design meets the harsh reality of manufacturing. Beautifully designed tripods can fail in the field if a factory cuts corners on process controls. When importing or evaluating a Tripod Stick, you must look past the shiny camouflage finish and dig into the quality assurance protocols.
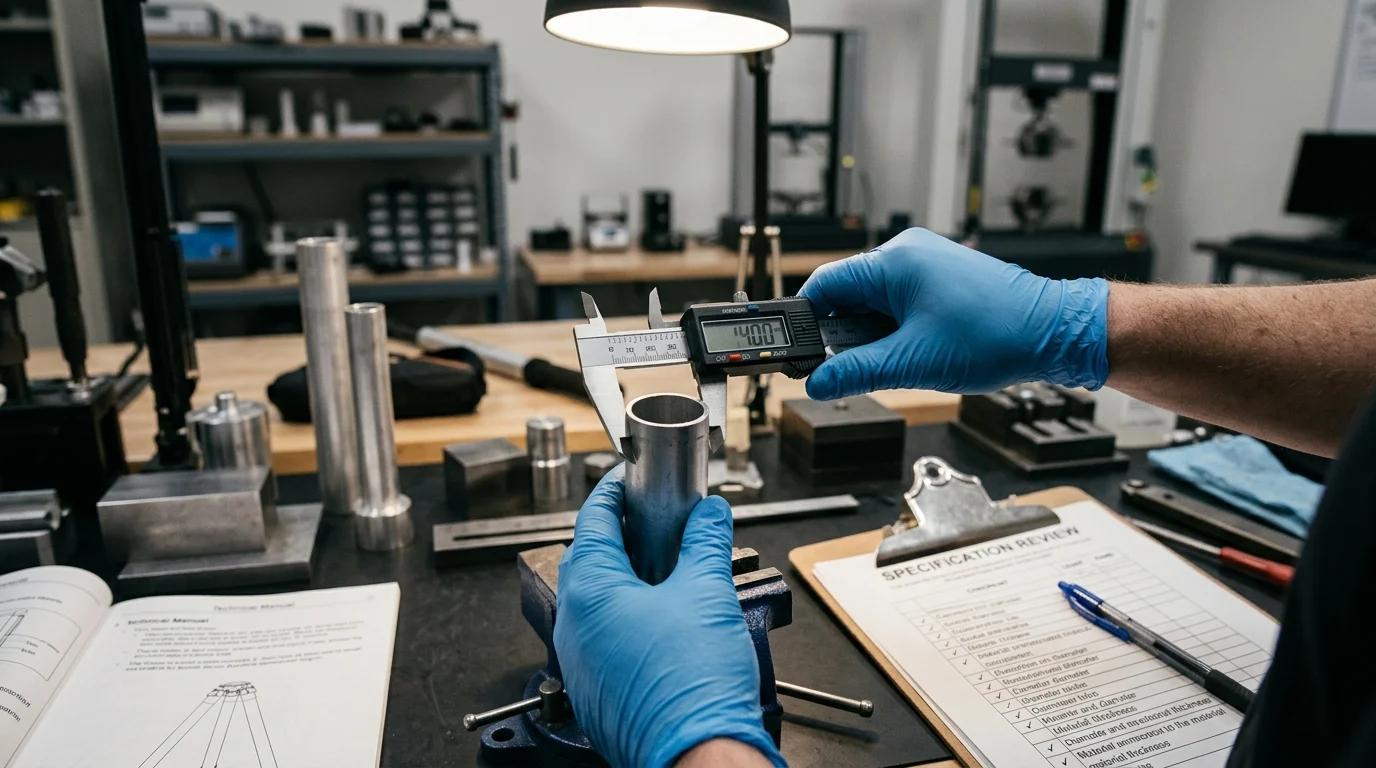
Evaluating quality requires a systematic approach to inspecting tolerances, surface treatments, and regulatory compliance. If a supplier cannot provide data on these metrics, it is best to walk away.
Factory process controls and inspection points
The first audit point in a factory’s process is the concentricity tolerance of the extruded aluminum tubes. For a multi-section tripod to slide smoothly without wobbling when fully extended, the tubes need a concentricity tolerance of +/- 0.05mm. If the gap between the tubes is too large, the tripod will rattle and flex; if it’s too tight, a single grain of sand will jam the leg.
Next, examine the anodizing process. Hunting tripods take a beating from the elements, making Type III hardcoat anodizing highly preferable over standard Type II. An anodized thickness of 2 to 3 mils (50-75 microns) creates a surface hardness that resists scratching and protects the underlying aluminum from oxidation. Furthermore, the factory should run salt spray tests. A high-quality tripod should withstand at least 48 to 72 hours in a salt spray chamber without showing any signs of corrosion on the metal joints, screws, or leg locks.
Material, labeling, and import compliance checks
Beyond physical quality, navigating international import compliance and material safety is essential. Importing thousands of tripods only to have them held at customs due to non-compliant materials is a costly mistake. For instance, the rubber feet and the foam or rubber grips on the upper legs must be scrutinized.
If selling into the United States, particularly California, ensure the rubber and plastic components comply with Proposition 65 regarding phthalates and lead. For the European market, REACH compliance is mandatory. Always demand third-party lab testing certificates for these materials. Additionally, if the tripod incorporates any electronic components (like an integrated level light or a heated grip), RoHS compliance comes into play. Proper labeling—including country of origin, material composition, and batch tracking numbers—must be permanently affixed or deeply laser-engraved on the tripod chassis.
Buying, Pricing, and Logistics Decisions
Whether you are a buyer for a major sporting goods retailer or launching your own brand, understanding the economics of an Aluminum Tube Hunting Shooting Tripod Stick is critical. Pricing isn’t arbitrary; it is deeply tied to global commodities, machining time, and freight logistics.
The math always tells a story. Understanding the cost drivers allows you to negotiate better FOB prices and plan inventory cycles to avoid stockouts right before hunting season.
Cost breakdown and pricing factors
The base cost of these tripods is heavily influenced by the London Metal Exchange (LME) spot price for aluminum, which typically hovers between $2,200 and $2,600 per metric ton. However, raw material only accounts for about 30% of the final product cost. The real cost drivers are the CNC machining time for the apex, the complexity of the leg locks, and the surface finishing. A standard 6061-T6 tripod with plastic flip locks might cost $18 to $25 FOB (Free On Board) at an MOQ (Minimum Order Quantity) of 1,000 units.
Upgrading to 7075-T6 aluminum, CNC-machined aluminum twist locks, and a high-load ball head can easily push that FOB price to $45 to $65 per unit. Tooling costs must also be factored in for custom apex designs or proprietary leg profiles (like D-shaped anti-rotation tubes). Tooling for a custom extrusion die is relatively cheap, often under $1,000, but tooling for a complex forged and machined apex can run $3,000 to $5,000. Knowing these baseline costs helps identify when a manufacturer is overcharging or when a quote is so low that they must be using substandard scrap aluminum.
Packaging, freight, and inventory planning
Once the units are manufactured, getting them across the ocean efficiently is the next hurdle. Tripods are inherently long and awkwardly shaped, making packaging optimization vital. A standard high-end tripod collapses down to about 24 to 28 inches. With retail packaging, a single box usually measures around 10cm x 10cm x 70cm.
| Logistics Metric | Standard 6061 Tripod (Basic) | Premium 7075 Tripod (Pro) |
|---|---|---|
| Est. FOB Price (per unit) | $22.00 | $55.00 |
| Typical MOQ | 1,000 units | 500 units |
| Units per 20ft Container | ~4,500 units | ~4,200 units (thicker padding) |
| Production Lead Time | 35 – 45 Days | 45 – 60 Days |
The table above illustrates how freight impacts landed costs. If a 20ft container costs $4,000 to ship, roughly $0.88 to $0.95 in freight cost is added per unit. Inventory planning requires factoring in a 45-day production lead time plus 30 days on the water. To have tripods on shelves for the September hunting season, purchase orders need to be finalized and deposits paid by early April at the latest.
How to Choose the Right Tripod Stick
Ultimately, material science and logistics mean little if you choose the wrong tool for the job. Selecting the right Aluminum Tube Hunting Shooting Tripod Stick requires matching the mechanical capabilities of the gear to the environmental realities of the hunt.
Approaching tripod selection like a checklist is a systematic process of eliminating unnecessary features to save weight, while ensuring the structural support necessary to make an ethical shot when your heart rate is spiked.
Step-by-step product selection process
The selection process starts with the payload. Weigh the rifle, optic, suppressor, and any attachments. For a 14-pound rig, a tripod with a static load rating of at least 35 to 40 pounds is ideal. A 2.5x to 3x safety margin is recommended because recoil and physical leaning multiply the force applied to the apex. Next, evaluate height requirements. For open desert hunting where prone shooting is possible, a tripod that splay-locks down to 8 inches is necessary. For tall sagebrush or timber, it must extend to at least 65 inches to allow comfortable shooting from a standing position.
Finally, consider the footprint and feet. A good hunting tripod should offer interchangeable feet—rubber domes for hard rock and slick surfaces, and stainless steel spikes for mud, snow, and loose dirt. Collapsed length is also crucial; anything over 28 inches folded will catch on branches when strapped to a pack. A 4-section leg design is usually the sweet spot, balancing a short collapsed length (around 22-24 inches) with a tall maximum height, without introducing too many failure points.
Common red flags and trade-offs
During the selection process, keep an eye out for common red flags. The biggest trade-off in aluminum tripods is weight versus stability. Be highly skeptical of a full-height aluminum tripod that weighs under 3 pounds. It almost certainly uses ultra-thin tubing (under 1.0mm) or a hollowed-out plastic apex, which will act like a tuning fork the second a magnum cartridge is fired.
Another massive red flag is a proprietary head mounting system. Avoid tripods that do not feature a standard 3/8″-16 or 1/4″-20 threaded stud at the apex. The ability to swap out different ball heads, leveling bases, or direct Arca-Swiss clamps as shooting styles evolve is essential. Lastly, beware of sloppy leg locks. If a tightened twist lock can still be physically forced to collapse by leaning on it with moderate body weight (around 50 lbs of pressure), the collet design is flawed. Choose a system that locks up securely.
Key Takeaways
- The most important conclusions and rationale for Aluminum Tube Hunting Shooting Tripod Stick
- Specs, compliance, and risk checks worth validating before you commit
- Practical next steps and caveats readers can apply immediately
Frequently Asked Questions
Why choose an aluminum tube hunting shooting tripod stick over carbon fiber?
Aluminum is usually more affordable and survives impact better. If crushed or dropped, it tends to bend or dent instead of shattering, which can still let you finish the hunt.
What load capacity should a hunting shooting tripod stick support?
Look for at least 35 to 50 pounds of static load capacity. That range better handles heavy rifles, binoculars, and the extra force applied when you lean into the tripod.
Which aluminum grade is better for a shooting tripod stick?
6061-T6 is a solid, corrosion-resistant value option. For lighter weight and higher rigidity, 7075-T6 is the better premium choice for demanding hunting or precision shooting use.
What leg angles are most useful in the field?
Independent leg angles around 20, 45, and 85 degrees are practical. They help you level on uneven ground and drop the tripod low enough for stable prone-style shooting.
How fast should a hunting shooting tripod stick deploy?
A good field tripod should deploy and level in about 10 seconds or less. Fast leg locks and smooth tube extension help you take quick shots before the opportunity disappears.
Post time: May-22-2026