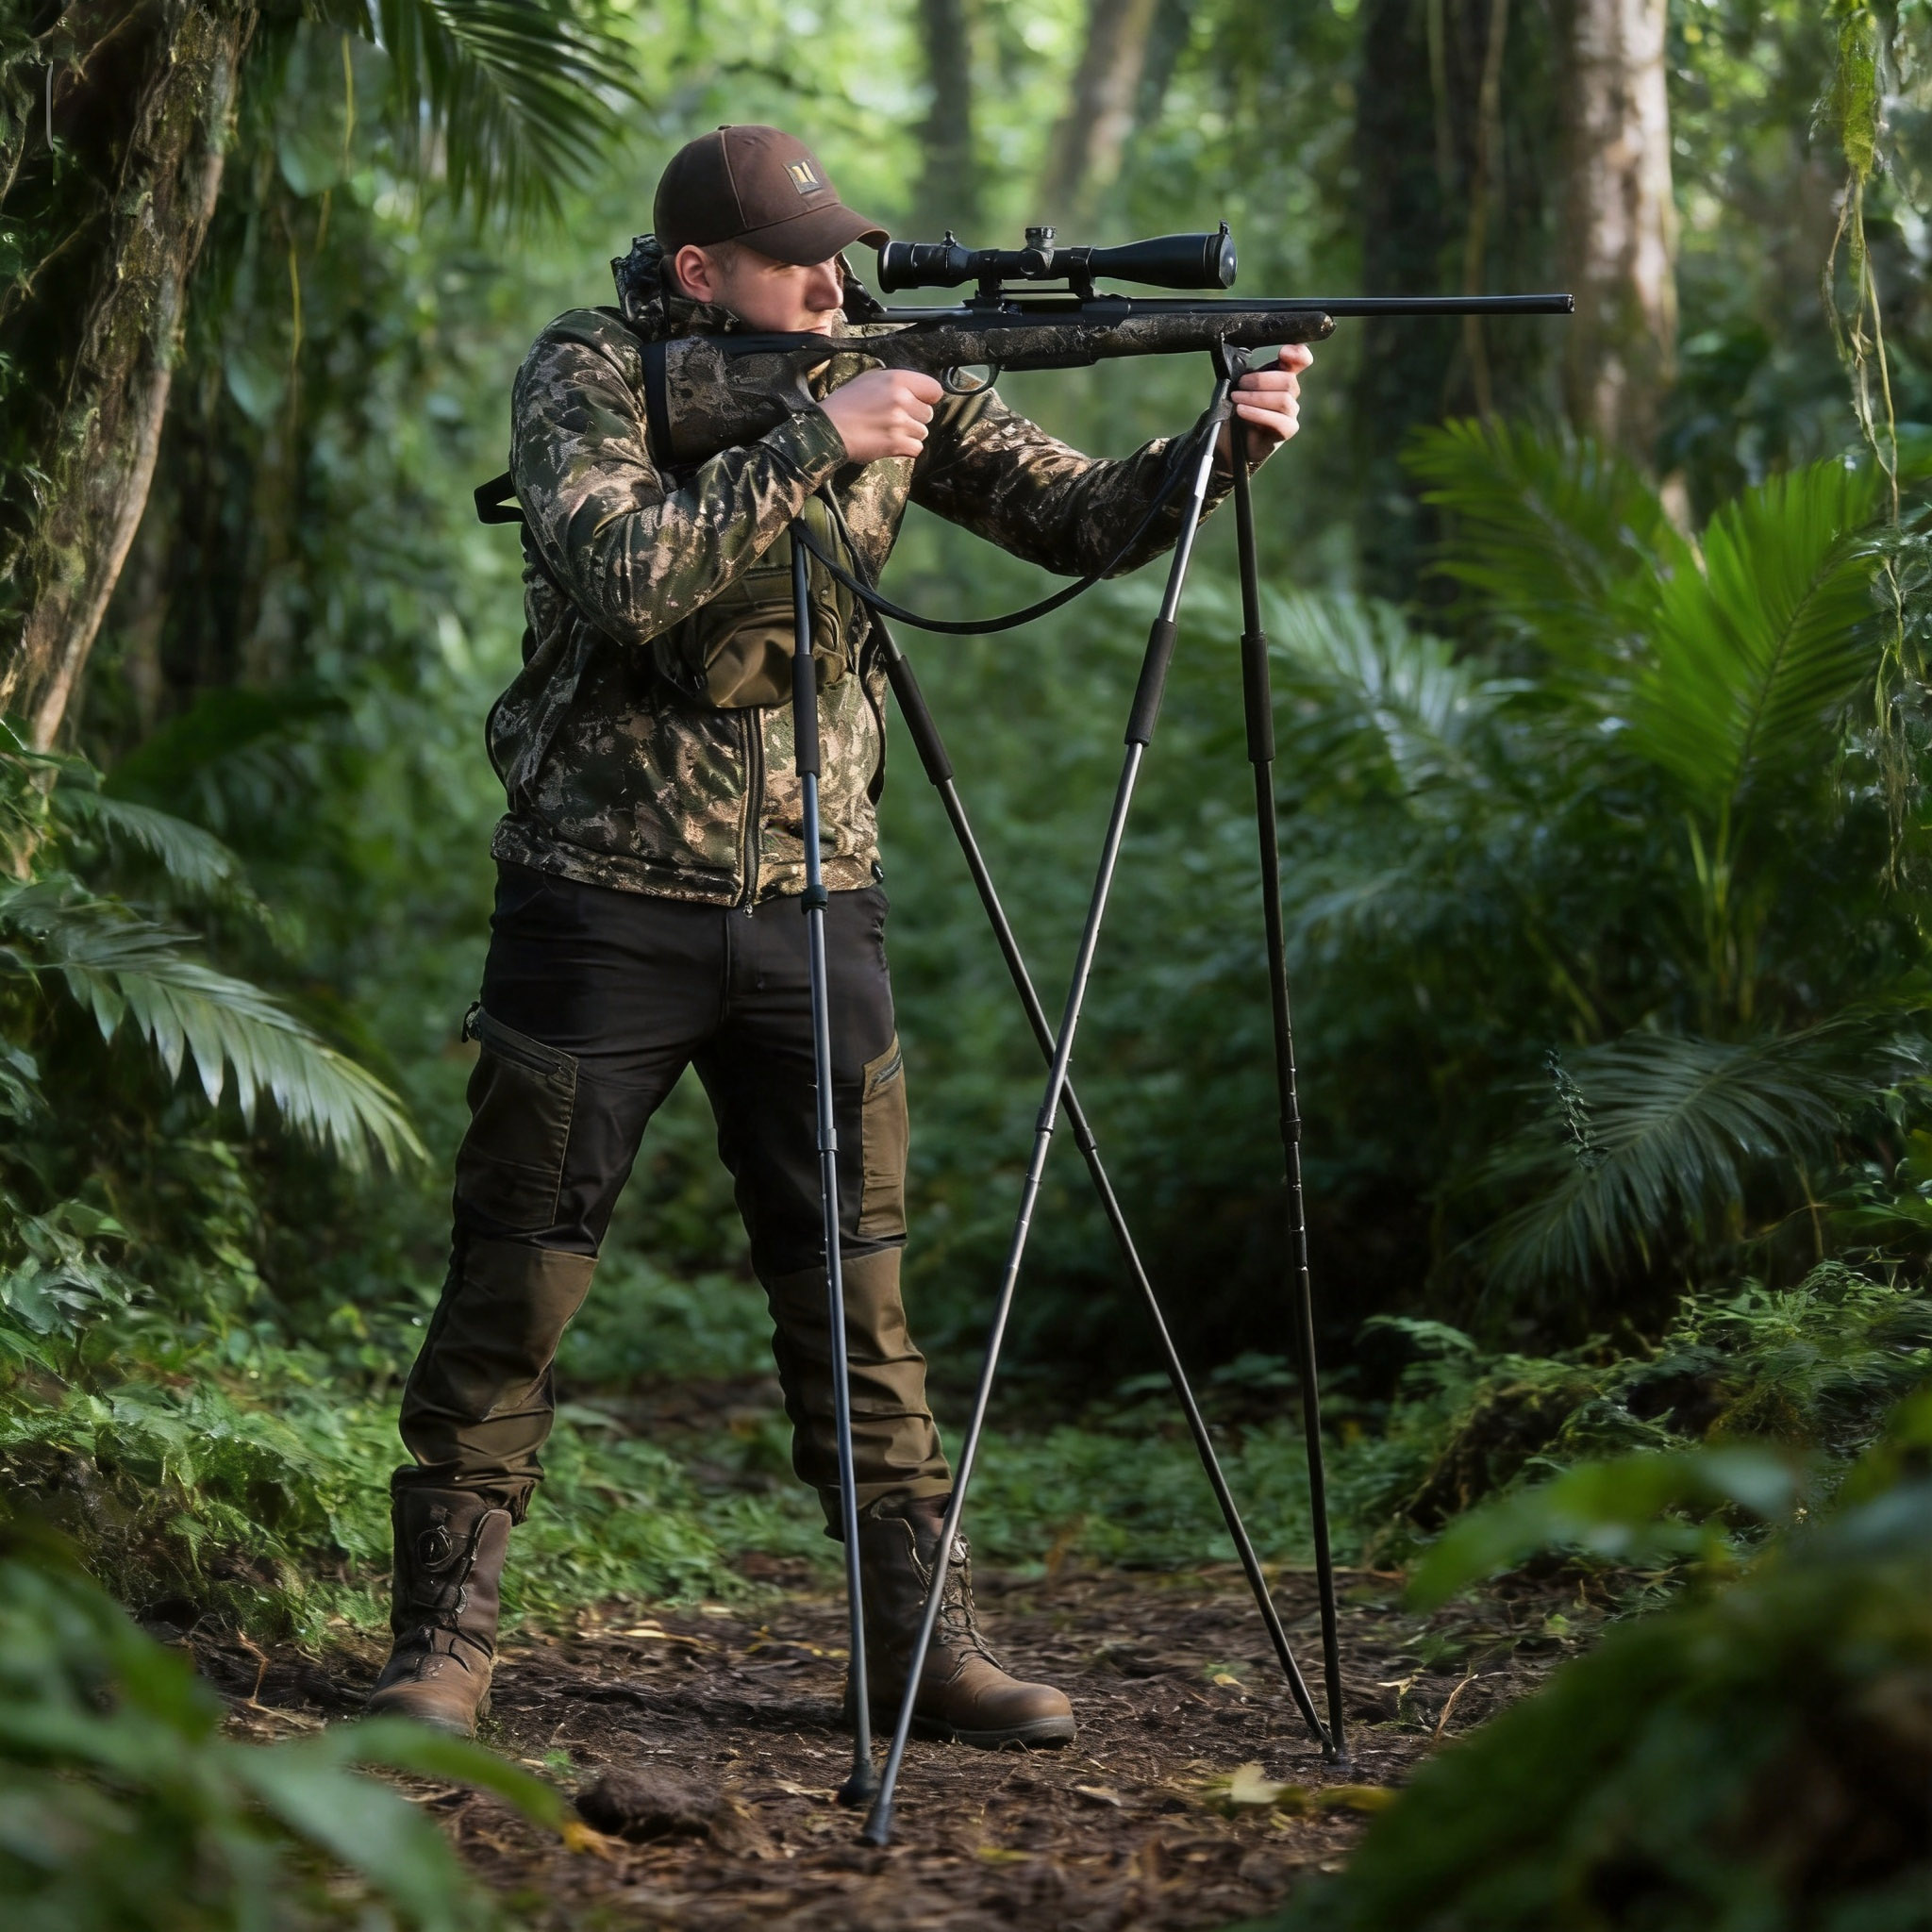
Why Choose a 4-Legged Hunting Shooting Stick
If you have ever missed a shot of a lifetime because your crosshairs were dancing a figure-eight over the target, you already know the value of a solid rest. I spent years trying to make traditional bipods and standard tripods work for me while stalking, but I always felt like I was fighting my gear. Then I finally got my hands on a 4-legged shooting stick, and it completely changed my approach to field marksmanship.
Unlike standard supports that only cradle the forend of your rifle, a 4-legged setup supports both the front and the rear of the gun. This dual-point contact effectively turns your hunting rifle into a stationary platform, mimicking the rock-solid feel of a benchrest right in the middle of the woods. In this guide, I will walk you through exactly why these tools are worth their weight in your pack and how to pick the right one for your style of hunting.
How a 4-Legged Shooting Stick Improves Stability
The biggest leap in performance I noticed when switching to a 4-legged design was the immediate eradication of horizontal sway. With a standard bipod or tripod, your shoulder acts as the rear support, meaning your breathing, heartbeat, and muscle fatigue transfer directly into the optic. By supporting the buttstock alongside the forend, a 4-legged stick isolates the rifle from your body mechanics.
In practical terms, this means taking your realistic standing accuracy from a wide wobble down to a steady 2-MOA hold. I have routinely held crosshairs dead steady on a 4-inch target zone at 200 yards from a standing position, something I could never achieve consistently with a single-point rest. The front V-yoke handles the weight, while the rear yoke completely locks out the pivot point.
When a Four-Leg Shooting Stick Makes Sense
A 4-legged setup shines brightest when you are hunting in environments where going prone simply isn’t an option. If you are stalking through waist-high prairie grass, dense brush, or rolling agricultural fields, you need to shoot from a standing or kneeling position to clear the vegetation. This is where the 4-legged stick becomes indispensable. However, be aware of the environmental trade-offs: the wider leg span can snag in dense brush during a stalk, and the larger surface area can catch crosswinds, causing micro-drift.
I highly recommend deploying these when you expect engagement distances between 150 and 300 yards. Inside 100 yards, a quick offhand shot or a snap-shot off a single stick might be fast enough. But when you need to thread a bullet through a narrow shooting lane at 250 yards, the extra three to five seconds it takes to deploy the rear support of a 4-legged stick will give you the ethical, clean shot you are looking for.
Key Buying Criteria: Terrain, Quarry, and Shooting Style
Before you even start looking at specific models, you need to evaluate the terrain you hunt most often. If you regularly stalk across steep, uneven mountain faces, you will need a stick with independently adjustable legs that can compensate for severe slopes. Conversely, if you hunt relatively flat woodland or open plains, a simpler scissor-action stick might be all you need.
Your quarry and shooting style also play a massive role. Fast-moving game like driven boar requires rapid target acquisition, meaning you might want a rest that allows for quick panning. For precise, deliberate stalks on skittish deer, maximum stability trumps setup speed. If you want a versatile option that balances both, checking out a reliable 4 Legged Hunting Shooting Stick is a great starting point to see what modern lightweight designs look like.
What to Know Before Buying
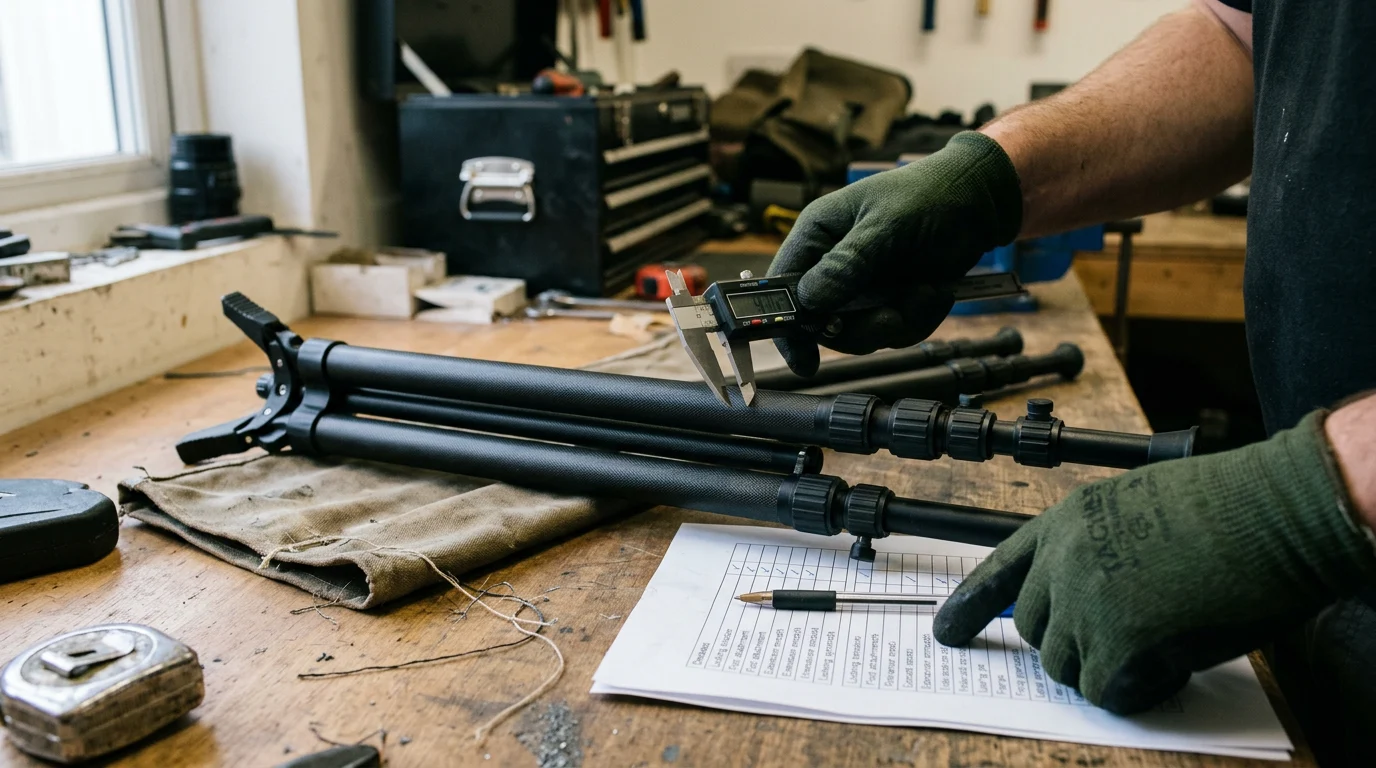
Buying a shooting stick online or in a store can be overwhelming if you do not know exactly what you are looking at. I have made the mistake of buying gear based solely on brand names or aggressive marketing, only to find out it did not fit my physical height or my rifle’s weight. To avoid burning your budget on the wrong gear, you need to understand the mechanics, materials, and hard specifications that separate a decent stick from a great one.
When you look past the camouflage paint jobs and marketing fluff, a shooting stick is essentially a portable geometry problem. You are looking for a tool that creates a rigid structural triangle with the ground, built from materials that won’t weigh you down but can survive being dropped on rocks or dragged through mud.
How Four-Leg Shooting Sticks Work
At their core, 4-legged shooting sticks operate using two sets of legs joined by horizontal linkages or a scissor mechanism. When you spread the bottom legs apart, the top V-yokes separate to accommodate the length of your rifle. The front yoke cradles the stock just ahead of the magazine or bottom metal, while the rear yoke supports the toe of the buttstock. Note that modern chassis systems, AR-15 buffer tubes, bullpups, and rifles with rear monopods may not seat securely in a standard rear V-yoke, often requiring specialized adapters to function safely.
Most modern designs use a central pivot point that allows you to track a moving animal horizontally without having to pick up and move the entire stick. This tracking arc is usually limited to about 30 to 40 degrees, which is plenty of sweep to follow a walking buck at 100 yards. When you step into the sticks, you lightly pull the rifle back into your shoulder, letting the structure bear 90% of the weapon’s weight.
Choosing the Right Material
The material of your shooting stick dictates its durability, weather resistance, and how your shoulders will feel after a 10-mile hike. The two dominant materials on the market are aircraft-grade aluminum and carbon fiber. I have used both extensively, and they each have distinct personalities in the field.
Aluminum is rugged, cost-effective, and bends before it breaks. If you trip and fall on an aluminum stick, you might dent a leg, but you can usually bend it back enough to finish the hunt. Carbon fiber is exceptionally rigid, dampens vibrations beautifully, and is noticeably lighter, but it can splinter or shatter under severe lateral impact.
| Feature | Aluminum Alloy (e.g., 7075) | Carbon Fiber |
|---|---|---|
| Average Weight | 2.2 – 2.8 lbs (1000g – 1270g) | 1.6 – 2.0 lbs (725g – 900g) |
| Rigidity | High (slight flex under heavy load) | Extreme (zero flex) |
| Cold Weather Feel | Cold to the touch | Neutral / Warm to the touch |
| Price Bracket | $80 – $150 | $200 – $350+ |
If you are looking for a reliable middle ground, many hunters opt for a high-quality aluminum 4-legged hunting shooting stick because it offers excellent stability without the premium price tag of pure carbon.
Specifications to Compare: Height, Weight, and Folded Size
The spec sheet is where you need to pay the closest attention. First, look at the maximum deployed height. If you are 6 feet tall, you need a stick that reaches at least 65 inches in height to shoot comfortably from a standing position. If the stick maxes out at 60 inches, you will find yourself hunching over the optic, which introduces neck strain and ruins your sight picture.
Next, consider the folded size. A stick that collapses down to 35 inches is easy to strap to the side of a daypack, whereas a fixed-length or minimally telescoping stick might stay at 50 inches, catching on every low-hanging branch you walk under. Finally, check the load capacity; a robust stick should be rated to support at least 30 lbs, ensuring it won’t flex under the weight of a heavy 12 lb precision hunting rifle.
How to Compare Shooting Stick Options
Once you know the baseline specifications, the next step is comparing how different models actually perform when the pressure is on. It is easy to set up a shooting stick in the middle of a brightly lit sporting goods store, but doing it with frozen fingers while a trophy animal is looking in your direction is a completely different game.
I always evaluate shooting sticks across three main performance axes: how fast I can get the gun on target, how the stick handles miserable weather, and the eternal compromise between being rock-steady and staying mobile.
Stability, Setup Speed, and Portability
Stability is the primary reason we buy a 4-legged stick, but it often comes at the cost of setup speed. A traditional bipod can be deployed in about 2 seconds. In my experience, a complex 4-legged stick with individual leg locks might take 8 to 12 seconds to fully deploy and adjust on uneven ground. That 10-second difference can absolutely cost you a shot.
To combat this, look for models with quick-deploy mechanisms, like trigger-actuated height adjustments or synchronized leg drops. The goal is to find a system that allows you to unclip it, spread the legs, and drop your rifle into the yokes in under 5 seconds. Portability also factors in here; a stick that weighs 2.5 lbs is easy to carry in one hand while stalking, keeping it ready for instant deployment.
Performance in Different Hunting Conditions
Hunting conditions are rarely perfect, and your gear needs to handle the mud, snow, and grit. Twist-lock legs are notorious for freezing shut if moisture gets trapped in the threads during a drop in temperature. If I am hunting in late-season snow or freezing rain, I vastly prefer flip-lever locks because I can manipulate them while wearing heavy gloves, and they are less prone to icing over.
You also need to look at the feet of the stick. Hard plastic feet are practically useless on slick rock or frozen ground. I prefer sticks that offer interchangeable feet: rubber domes for hard surfaces and metal spikes for biting into ice, moss, or soft loam. A leg splay angle of up to 60 degrees is also crucial when you need to drop the stick low to shoot from a steep hillside.
Trade-Offs Between Steadiness and Mobility
There is no such thing as a perfect rest; everything is a trade-off. A massive, heavy 4-legged stick will give you benchrest accuracy but will wear you out if you cover 8 miles a day on foot. Conversely, an ultra-lightweight stick is a dream to carry but might vibrate slightly in high winds.
| Support Type | Setup Speed | Stability Rating | Mobility / Packability |
|---|---|---|---|
| Standard Bipod | Very Fast (< 2s) | Moderate (Front only) | Excellent (Attached to rifle) |
| Tripod (with saddle) | Slow (10-15s) | Very High | Poor (Bulky, heavy) |
| 4-Legged Stick | Moderate (4-8s) | Excellent (Dual point) | Good (Doubles as walking stick) |
While it might be tempting to use a folded 4-legged stick as a trekking pole when navigating rough terrain, proceed with extreme caution. Most shooting sticks lack the lateral bracing and structural load ratings of dedicated trekking poles. Relying on them to bear your full body weight is potentially unsafe and can easily snap a leg or damage the pivot mechanism. If you must use one for light balance, check for an explicit manufacturer weight rating first.
How to Fit and Test a Shooting Stick
Buying the best shooting stick on the market won’t do you any good if you don’t take the time to fit it to your body and practice with it. I have watched too many hunters unbox a brand-new stick the night before a hunt, only to fumble with the latches and spook their target the next morning.
Treat your shooting stick like an extension of your rifle. It requires a proper fit, a break-in period, and dedicated practice to build muscle memory. Here is exactly how I set up and test my gear before I ever set foot in the woods.
Adjusting Height and Shooting Position
The first thing I do with a new stick is mark my preferred height settings. Put on the boots you actually hunt in, grab your unloaded rifle, and deploy the stick. Adjust the height so that when you bring the rifle to your shoulder, you do not have to dip your head or stand on your tiptoes to see through the optic perfectly. Your spine should be straight and relaxed.
Once I find that perfect height—let’s say it’s exactly 58 inches for my standing position—I take a silver permanent marker or a strip of bright tape and mark the lower leg sections. This visual index means that in the field, I can open the locks, slide the legs out exactly to the line, and know the height is perfect without having to micro-adjust while aiming.
Practice Drills for Field Use
Dry-fire practice is mandatory. I set up a small target in my backyard or garage and practice transitioning from a walking carry to a deployed shooting stance. My benchmark is getting the stick open, the rifle seated, and the crosshairs stable on the target in under 4 seconds.
I run this drill 20 to 30 times a day in the weeks leading up to a hunt. I practice it standing, kneeling, and sitting. I also practice tracking a moving target by having a friend walk across the yard while I pivot the stick. You will quickly learn how much pressure you need to apply to the rifle to keep the rear yoke from slipping out from under the stock.
Pre-Stalk Checks: Locks, Joints, and Hardware
Before every single stalk, I run a quick diagnostic check on my sticks. I check every single lever lock to ensure the tension is tight enough that the leg won’t slip under weight. If your stick uses hex bolts for tension, keep the appropriately sized Allen key in your bino harness. A leg collapsing right as you break the trigger is a guaranteed missed shot.
I also check for noise. Carbon and aluminum can clack loudly if the legs bang together. I wrap the upper sections of my sticks in camo stealth tape to deaden the sound of brush scraping against them, and to prevent metallic clicks if my rifle sling swivels hit the metal. Taking a few minutes to silence your 4-legged hunting shooting stick will pay massive dividends when you are closing the last 50 yards on a wary animal.
How to Choose the Right Model
We have covered the mechanics, the materials, and the field applications. Now it comes down to actually choosing the model that deserves your hard-earned money. The market is flooded with options ranging from cheap knock-offs to high-end European imports, and navigating that spectrum requires a bit of brutal honesty about what kind of hunter you are.
I always tell people to buy the best support they can afford, because a $2,000 rifle and a $1,500 scope are entirely useless if they are resting on a $20 wobbly piece of junk. Here is how I break down the final purchasing decision.
Matching the Stick to Your Hunting Needs
If your primary hunting style involves sitting in a ground blind overlooking a feeder, a heavy, ultra-stable tripod or a heavy-duty 4-legged stick is perfect. Weight doesn’t matter much if you are only walking 200 yards from the truck. However, if you are spot-and-stalk hunting elk in the backcountry, every ounce matters, and a lightweight, highly packable 4-legged stick is the only logical choice.
Also, consider your rifle’s profile. If you run a wide, flat-bottomed precision stock or a chassis system, ensure the front V-yoke of the shooting stick is wide enough to accommodate it. Standard yokes are often designed for traditional slim sporter stocks and might pinch or fail to seat a modern chassis, AR-style rifle, or bullpup properly.
Price Tiers and Value Considerations
You can generally divide shooting sticks into three price tiers. The budget tier ($50 to $90) usually features basic aluminum tubes, twist locks, and limited pivot capabilities. They work, but they might rattle or require more maintenance. The mid-range tier ($100 to $250) is the sweet spot for most hunters. Here, you get robust aluminum or entry-level carbon fiber, reliable flip locks, smooth panning heads, and durable yokes.
The premium tier ($250 to $400+) is where you find ultra-lightweight carbon fiber, magnetic leg closures, and incredibly refined machining. If you hunt 30 days a year, the premium tier is a worthwhile investment. If you hunt one weekend a year, a solid mid-range 4-legged hunting shooting stick will give you 95% of the performance for half the price.
Final Buying Decision Framework
When you are ready to pull the trigger on a purchase, run through this final checklist. First, verify the maximum height accommodates your standing posture. Second, check the total weight—keep it under 2.5 lbs if you plan to hike with it. Third, ensure the deployment mechanism is something you can operate with one hand and thick gloves.
Finally, read the warranty. Good hunting gear gets abused, and a company that stands behind their product with a lifetime or generous multi-year warranty is usually building gear that won’t fail you in the first place. A 4-legged shooting stick is a transformative piece of gear; take the time to choose the right one, practice with it relentlessly, and watch your effective ethical range expand dramatically.
Key Takeaways
- Choose a 4-legged shooting stick when you need both front and rear rifle support for steadier standing or kneeling shots.
- Use this style of stick for likely shot distances of 150 to 300 yards, where stability matters more than instant deployment.
- Prioritize adjustable height so you can adapt quickly to standing, kneeling, sloped ground, and changing vegetation height.
- Select a lightweight aluminum model if you stalk long distances and need a balance of portability, durability, and field stability.
- Avoid bulky 4-legged setups in very dense brush unless the added accuracy is worth the risk of snagging and slower movement.
Frequently Asked Questions
What makes a 4-legged shooting stick more stable than a bipod or tripod?
A 4-legged stick supports both the rifle forend and buttstock, reducing horizontal sway and body-induced movement. This creates a steadier field platform than a single front rest.
When is a 4-legged hunting shooting stick most useful?
It is best for standing or kneeling shots in tall grass, brush, crop fields, or uneven terrain where prone shooting is not practical.
What shooting distance suits a 4-legged stick best?
It is especially useful from about 150 to 300 yards, where extra stability can improve shot placement and justify a slightly slower setup.
Is an adjustable-height shooting stick worth choosing?
Yes. Adjustable height lets you switch between standing, kneeling, and uneven-ground positions while keeping the rifle properly aligned with the target.
Are lightweight aluminum shooting sticks good for stalking?
Yes. A super-light aluminum model is easier to carry during long stalks while still offering strong, weather-resistant support for field shooting.
Post time: Aug-14-2026